Application Settings

Application Settings

All Elsys sensors are equipped with NFC for easy configuration with a smartphone. You can change the sample rate, data rate, encryption keys, triggers, activation, and much more.
All changes can be made with our application, Sensor Settings. Available on Google Play and App Store. 

Start

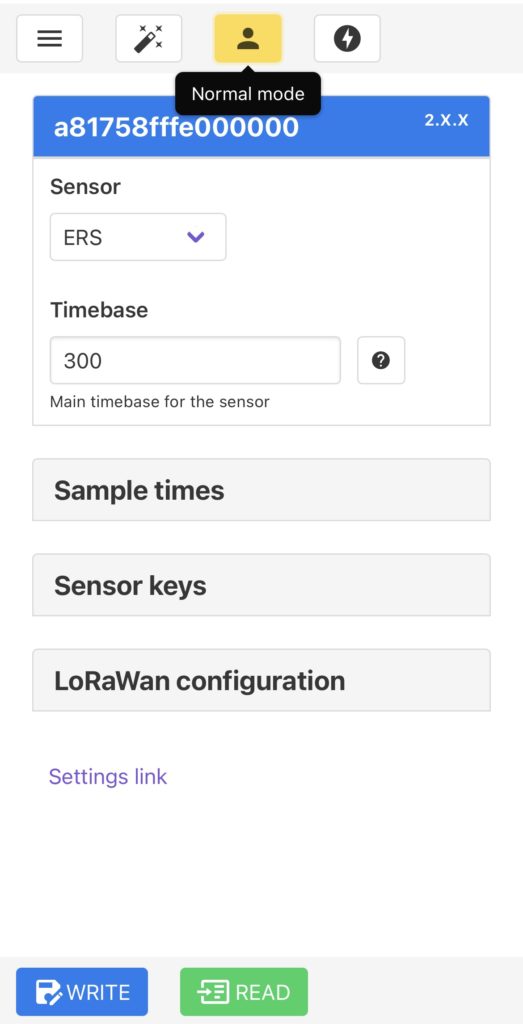
Choose between Wizard mode, Normal mode, or Advanced mode when using the application. 

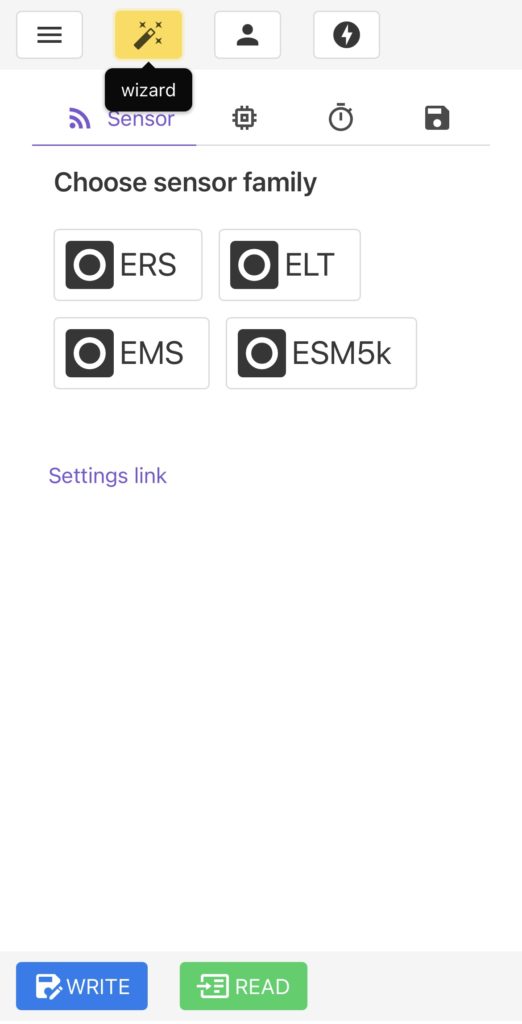
The Wizard mode, for example, is the most helpful mode and will allow you to perform only the most important setting changes for your device.

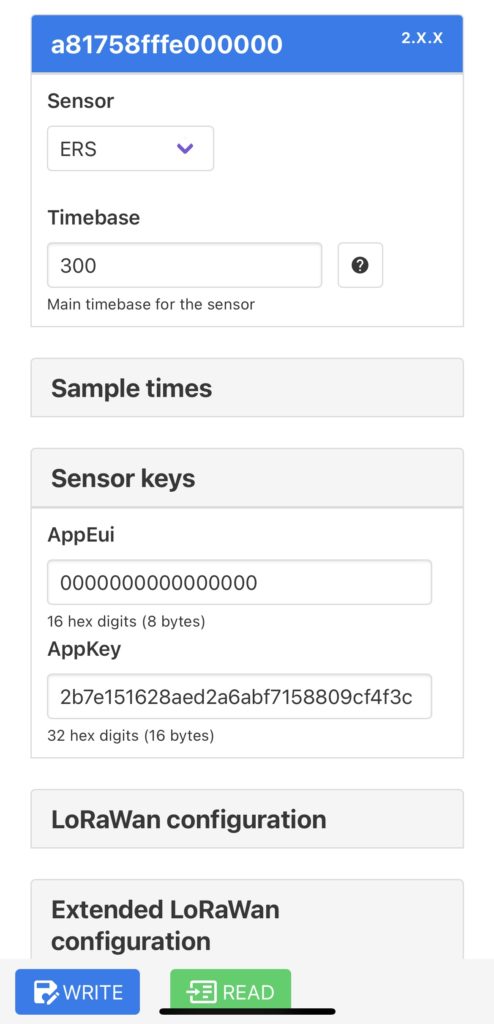
  • Sensor – Choose sensor type, automatically updates if a sensor is read.
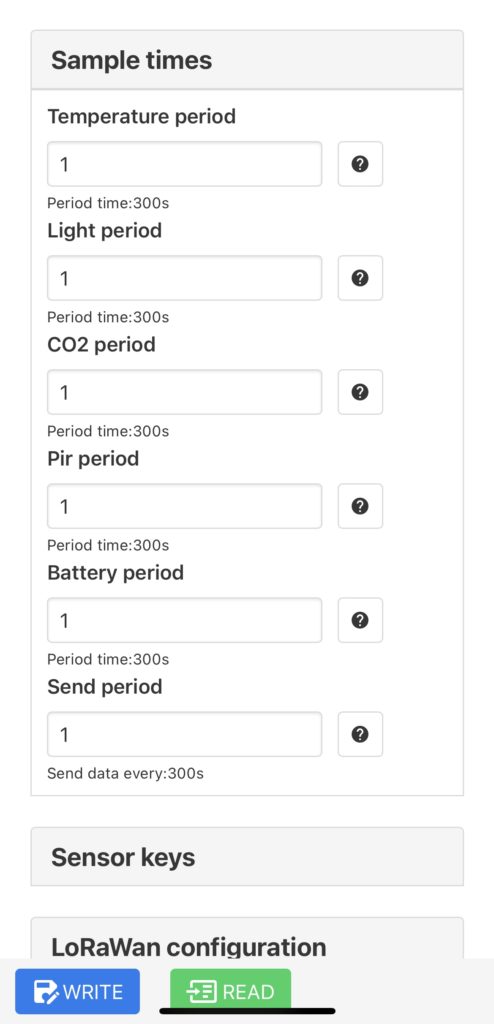
  • Timebase – The main timebase for the sensor. This is the interval for the sensor to wake up and sample data.
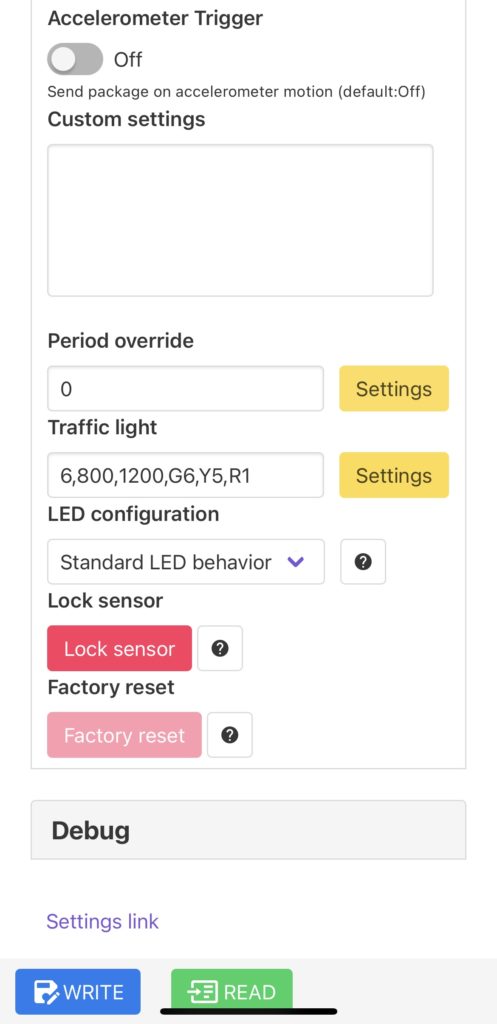
  • Write – Writes data to sensor, press the button and place the phone onto the sensor to write new data.
  • Read iOS device: Read a sensor by pressing the button “read” and placing the phone onto the sensor.
    Read Andriod device: Read by placing the phone onto the sensor. 
  • The DevEUI, the unique ID for each device, is found in the blue panel at the top. 

Application menu

  • Multiple write – Write the same settings to multiple sensors.
  • Debug –  Show debug information.
  • Recent sensors – The Dev EUI’s for the recent read sensors.
  • Help – Link to this site.
  • NFC driver test – Tool to verify that the NFC reader on the phone is working properly. 

Sample times

Value • Timebase = Sample time. Normally, it is best to keep Period = 1 and only change the Timebase.

It is possible to have different sample periods for the different sensors.

Note that the options will change based on what sensor is chosen. The image is displaying an ERS. 

Sensor keys

  • The DevEUI, the unique ID of the sensor, is found in the blue panel at the top.
  • AppEUI – Application ID (8bytes or 16 hex digits). Default is 0, can be changed if needed for the application.
  • AppKey – Application unique key (16bytes or 32hex digits)

LoRaWAN Configuration

  • OTAA – Over The Air Activation is enabled by default. Disable for ABP (Activation By Personalisation)
  • Confirmed message – Request acknowledges from the server every message. Note that the Confirmed message will increase the network load.
  • Frequency plan – Change the sensor frequency plan (only supported frequency plans can be used).
  • Sub-band – Sub-band for the hybrid modes (US915 Hybrid, AU915 Hybrid). Use the same sub-band as the network provider.

Extended LoRaWAN Configuration

  • Listen before talk – The device will enter RX (Receive) mode and check the interference signal level before starting the transmission.
  • Link period – The number of data packages between two link requests. (1 • X send period)
  • Link threshold – The number of lost link requests before the sensor reboots. The sensor will reboot after “Link period • Link threshold” missed packages.
  • Datarate default – The default data rate for the sensor. Default: DR5. Set Default=Max=Min to disable the adaptive data rate.
  • Datarate max – Maximum data rate for the sensor. Default: DR5.
  • Datarate min – Minimum data rate for the sensor. Default: DR0.
  • Port – LoRaWAN communication port, the application data port. Sensor settings are sent on port+1. Default: 5, settings on port 6.

Advanced

  • Motion configuration – Configuration for the motion sensor and occupancy detection logic.
    • PIR Off – PIR Sensor turned off.
    • PIR Trigger – Sensor sends a package on every detected motion.
    • PIR Count – Sensor counts motion events between two transmissions.
    • PIR Trigger once – Sensor sends package on the first detected motion each period. The next package will contain the number of motions detected during the rest of the current period.
    • ERS Desk, Logic off – Sends raw thermopile data, internal logic is turned off. 
    • ERS Eye, hot spot – Sends only the Eye sensors hottest pixel (other logic is turned off).
    • ERS Eye, Raw data – Sends raw pixel data, internal logic is turned off.
  • PIR Sensitivity – In some environments, high sensitivity is not possible due to self-triggering. Default: low. 
  • Calibrate CO2 – Not needed unless the sensor is in an environment where the CO2 level is constantly elevated (e.g. greenhouses). The sensor must be placed outdoors for at least 10 minutes before calibration. Read more in the ERS CO2 Manual
  • Sample queue size – Internal queue for data samples. Maximum 10 samples. Default: 1. 
  • Queue offset – The sensor will include time offset bytes in the payload. Default: Off.
  • Queue purge –  The sensor will remove samples from the internal queue when the data is sent. Default: On. 
  • Accelerometer threshold – Accelerometer sensitivity. An event will be generated when the acceleration exceeds this value. Threshold = 16 mg • X. Min: 2.
  • Accelerometer duration – The number of accelerometer samples that must exceed the threshold before generating an event. Duration = X/10 sec. Min: 1.
  • Accelerometer trigger –  Send package on accelerometer motion. Default: Off. 
  • Custom settings – Most used for Beta testing and customer-specific applications. 
  • Period override – Used to set specific conditions for a certain sample value.
  • Traffic light – Configure the LED light to indicate if a value is above, below, or in between thresholds.
    • Choose which sensor the traffic light should be configured for.
    • Upper threshold – Above this threshold will activate “High value indication”
    • Lower threshold – Below this threshold will activate “Low value indication”
    • Values between the upper and lower thresholds will
      activate “Mid value indication”.
    • High/Mid/Low value indication – Choose the
      color of the LED, and with what time interval the LED should flash.
    • Output – Will be sent as settings to the sensor.
  • LED Configuration – Configuration of LED brightness and indication.
    • Block LED blinking – All LEDs off. 
    • LED Minimal light – Minimal LED brightness.
    • LED 50 % – 50 % LED brightness.
    • Light sensor – The light sensor controls LED brightness.
    • Light sensor + PIR – The light sensor and PIR control LED brightness.
    • Trafficlight 5/10/50 ms – 5/10/50 ms on time for the traffic light indication. 
  • Lock sensor – Prevents further readout settings and blocks all writes. Can only be unlocked with a code (4 to 8 digits). Not possible to unlock without the correct code (including for the manufacturer).
  • Factory reset – Restore all settings to the factory default. Current settings will be permanently erased and cannot be restored.